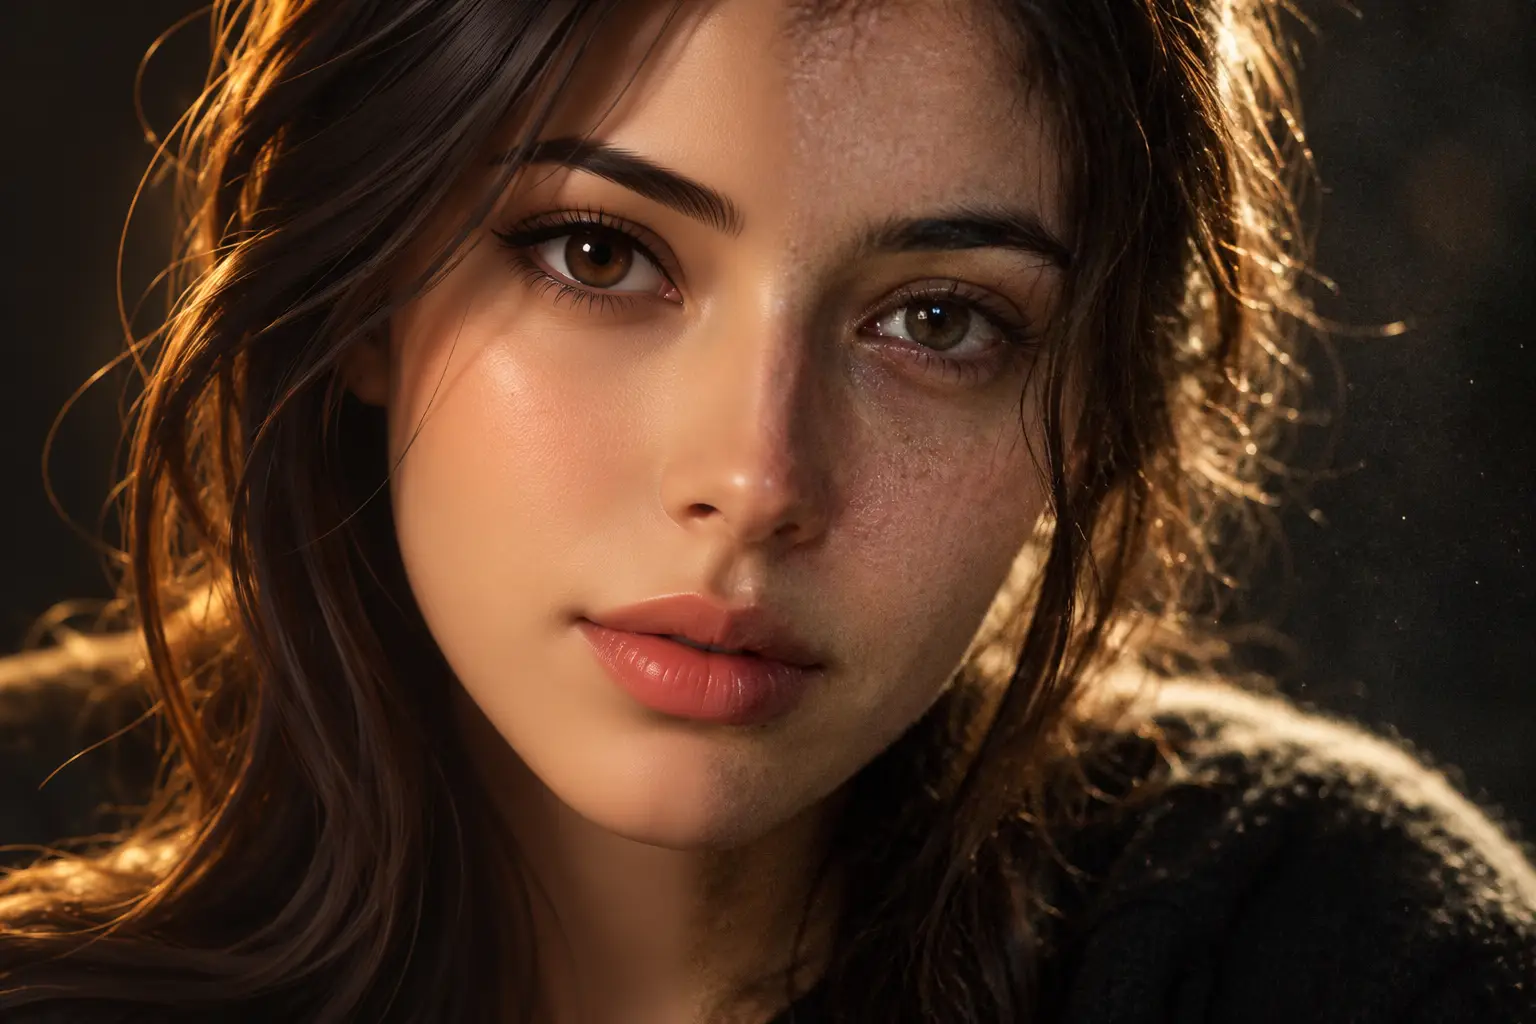
You type a detailed portrait prompt into your image generator. You ask for a "professional founder headshot, studio lighting, hyperrealistic, 8k."
The result pops up three seconds later. At first glance, it looks crisp. Then you look closer.
The skin looks like melted Tupperware. The eyes have the dead glassiness of an expensive porcelain doll. The hair looks sculpted from tinted wax, and the lighting wraps around the face with that sickly, over-smoothed digital glow.
I spent months fighting this exact problem. I blamed the generators. I assumed diffusion models simply lacked the capability to understand human skin.
I was wrong. The models do not have a realism problem. We have a vocabulary problem.
Once you understand why diffusion models smooth out textures, stripping away that waxy film takes less than ten seconds of prompt editing.
The Secret Cause of the Plastic Look
To fix the waxy sheen, you need to understand how diffusion models handle human features.
Diffusion algorithms generate images by turning random visual noise into recognizable patterns. When an AI builds a human face, it looks for the mathematical average of millions of images in its training data.
What sits in that training data? Millions of heavily retouched Instagram photos, airbrushed studio headshots, and stock photography smoothed out by aggressive beauty filters.
When you ask for a "portrait," the model does not aim for raw reality. It aims for the statistical mean of portrait photography, which is already saturated with artificial smoothing.
This is why your generated portrait looks like an airbrushed wax figure at Madame Tussauds before you even finish tweaking your settings.
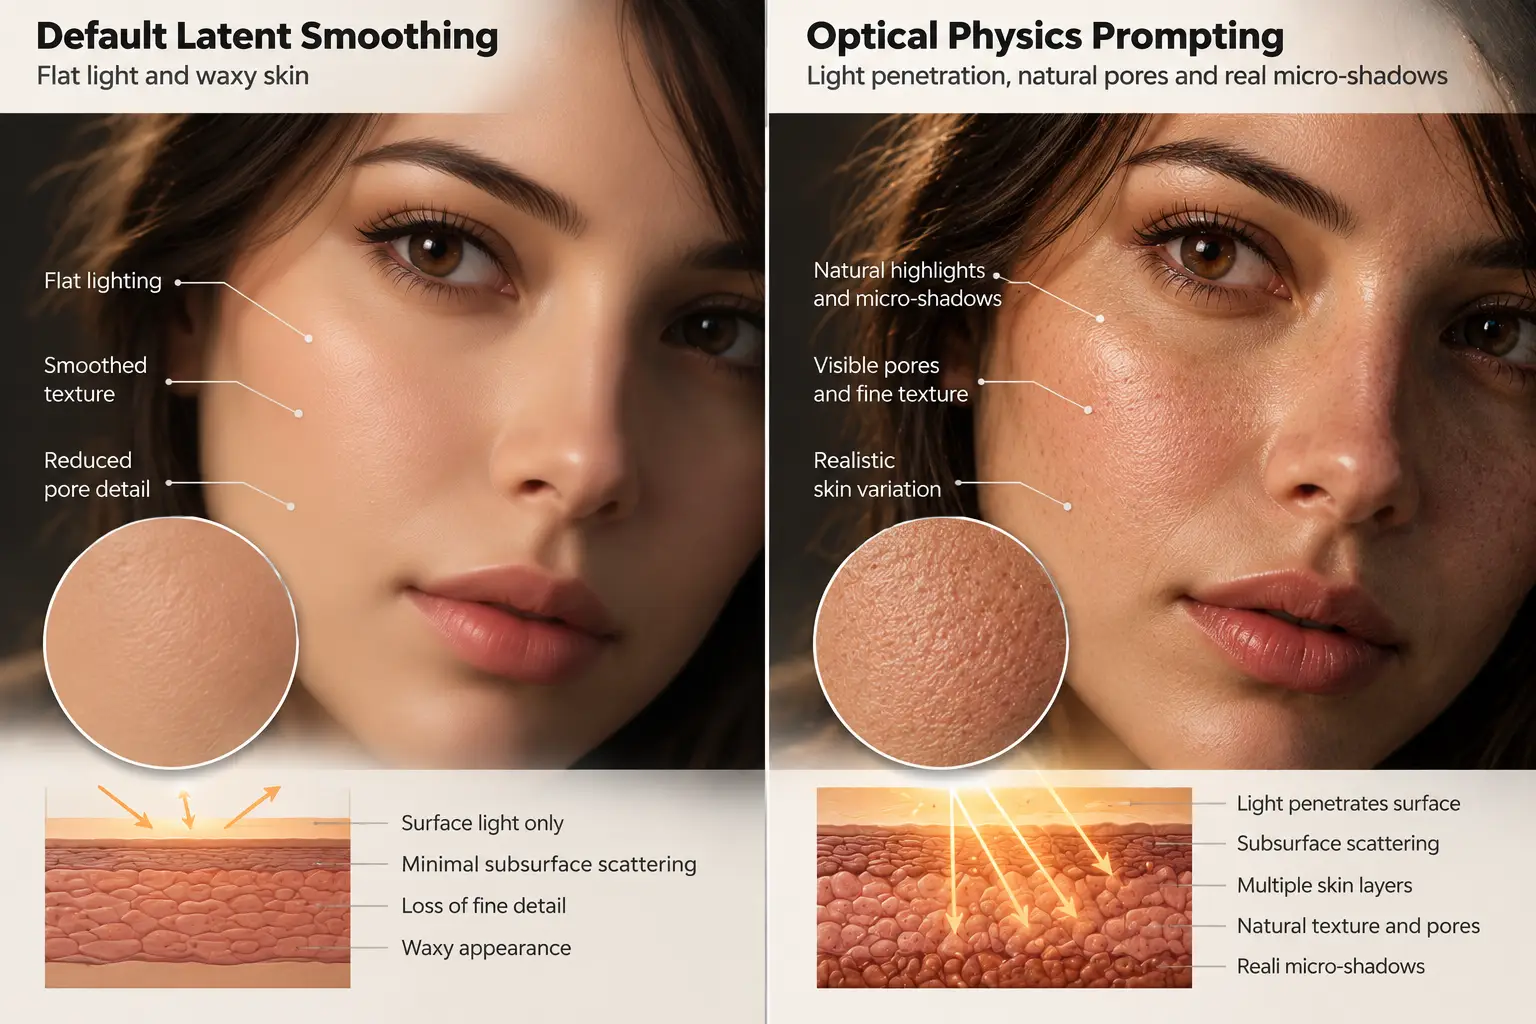
There is another technical culprit at play: subsurface scattering. In the physical world, light enters human skin, bounces through microscopic tissue layers, and exits at a slightly different angle. That gives living faces their warmth and softness.
When an AI tries to calculate subsurface scattering without optical guidelines, it over-diffuses the light across the entire face. The skin stops behaving like biological tissue and starts behaving like polished resin.
 Why AI Images Look Plastic (And How to Fix It)
The "Hyperrealistic" Keyword Trap
When people notice their images look fake, their immediate instinct is to pile on hype words:
- "Photorealistic"
- "Hyperrealistic"
- "8K resolution"
- "Unreal Engine 5"
- "Octane Render"
I used to do this on every single render. It felt intuitive. If the image looks fake, you tell the engine to make it real, right?
Doing this actually guarantees your image will look like plastic.
When you include terms like "Octane Render" or "Unreal Engine," you tell the model to pull from datasets of video game assets and 3D digital art. You are explicitly commanding the AI to simulate a computer-generated render instead of an actual camera sensor.
Even "photorealistic" hurts you. Real photographs are never tagged with the word "photorealistic" in photographic archives. The images tagged "photorealistic" online are digital paintings, 3D character models, and CGI renders created by artists showing off how close their digital art looks to a photo.
This is why adding "photorealistic" to your prompt makes the skin look twice as glossy: you are literally referencing art designed on a computer screen.
If you have read our breakdown on how to stop generic AI art, you know that AI responds best to mechanical descriptions, not subjective praise.
Prompt Like a Cinematographer
If you want an image to look real, stop telling the AI how you want the final picture to feel. Tell the AI which physical camera equipment took the shot.
Cameras have physical limitations. They have optical glass, sensor noise, focal planes, and physical shutter speeds. When you prompt with photographic hardware instead of artistic buzzwords, the AI references genuine photographic datasets from documentary archives, press photography, and editorial film sets.
Here is the vocabulary switch that instantly cuts through the plastic look:
1. Specify Camera Focal Lengths and Sensor Types
A wide-angle phone lens distorts faces and flattens dynamic range. Real editorial portraits rely on telephoto lenses that compress backgrounds and render natural facial geometry.
Instead of typing "portrait of a woman," specify:
35mm editorial photograph or 85mm portrait lens, f/2.8.
This is why specifying an 85mm lens creates natural facial proportions instead of a warped fisheye forehead.
2. Anchor the Scene to Specific Film Stocks
Digital sensors are clean. Sometimes they are too clean. Analog film has chemical grain, variable color dyes, and highlight roll-off that softens plastic highlights naturally.
Drop in references like:
Shot on 35mm Kodak Portra 400(for warm, authentic skin undertones)Fujifilm Superia 800(for cooler tones and visible micro-grain)Cinestill 800T(for tungsten lighting and slight red halation around highlights)
3. Add Intentional Optical Flaws
Perfection looks synthetic. Human perception registers sterile, flawless images as computer graphics. Real camera setups have depth of field drop-off and subtle lens traits like chromatic aberration.
Ask for shallow depth of field, natural motion blur, or soft atmospheric haze.
"The difference between CGI and photography in neural networks isn't detail—it's the distribution of imperfections."
| Plastic Prompt Habit | What the AI Interprets | The Optical Replacement | Real-World Result |
|---|---|---|---|
Hyperrealistic, 8k | Pull from 3D ArtStation & CGI models | Documentary photography, raw sensor capture | Eliminates plastic sheen |
Studio lighting | Balanced, flat ring-light across all skin | Hard side-lighting, rim light, deep shadows | Adds skin depth and micro-creases |
Flawless smooth skin | Heavy digital airbrushing & beauty filter | Visible pores, skin texture, subtle freckles | Restores biological realism |
Octane render | Polished resin and synthetic 3D shaders | 35mm film grain, Kodak Portra 160 | Replaces plastic gloss with analog texture |
The Four-Layer Realism Recipe
Whenever I build a prompt for human subjects now, I structure it using a four-layer prompt stack. This prevents the generator from defaulting to beauty-filter mode.
[Subject & Micro-Detail] + [Lighting Geometry] + [Camera & Lens Spec] + [Film/Texture Noise]
Notice what is missing? Not a single adjective praising the quality of the image.
Let's look at how this plays out in practice.
The Standard "Plastic" Prompt:
A handsome 35-year-old architect standing on a balcony, perfect skin, highly detailed, photorealistic, 8k, cinematic lighting, Octane render.
The output gives you a man made of polished vinyl standing against a background that looks like an architectural visualization rendering.
The Corrected "Optical" Prompt:
Candid medium-shot of a 35-year-old architect on a windy balcony, weathered cotton jacket, unkempt hair strands, visible pores and stubble, hard natural afternoon sunlight casting sharp jawline shadows, shot on Leica M6, 50mm Summicron lens, f/2.0, Kodak Portra 400 film grain, desaturated color grade.
This is why your teammate's AI output looks like an award-winning editorial photograph while yours looks like a video game cutscene: they are dictating the physics of light, not demanding quality from an algorithm.
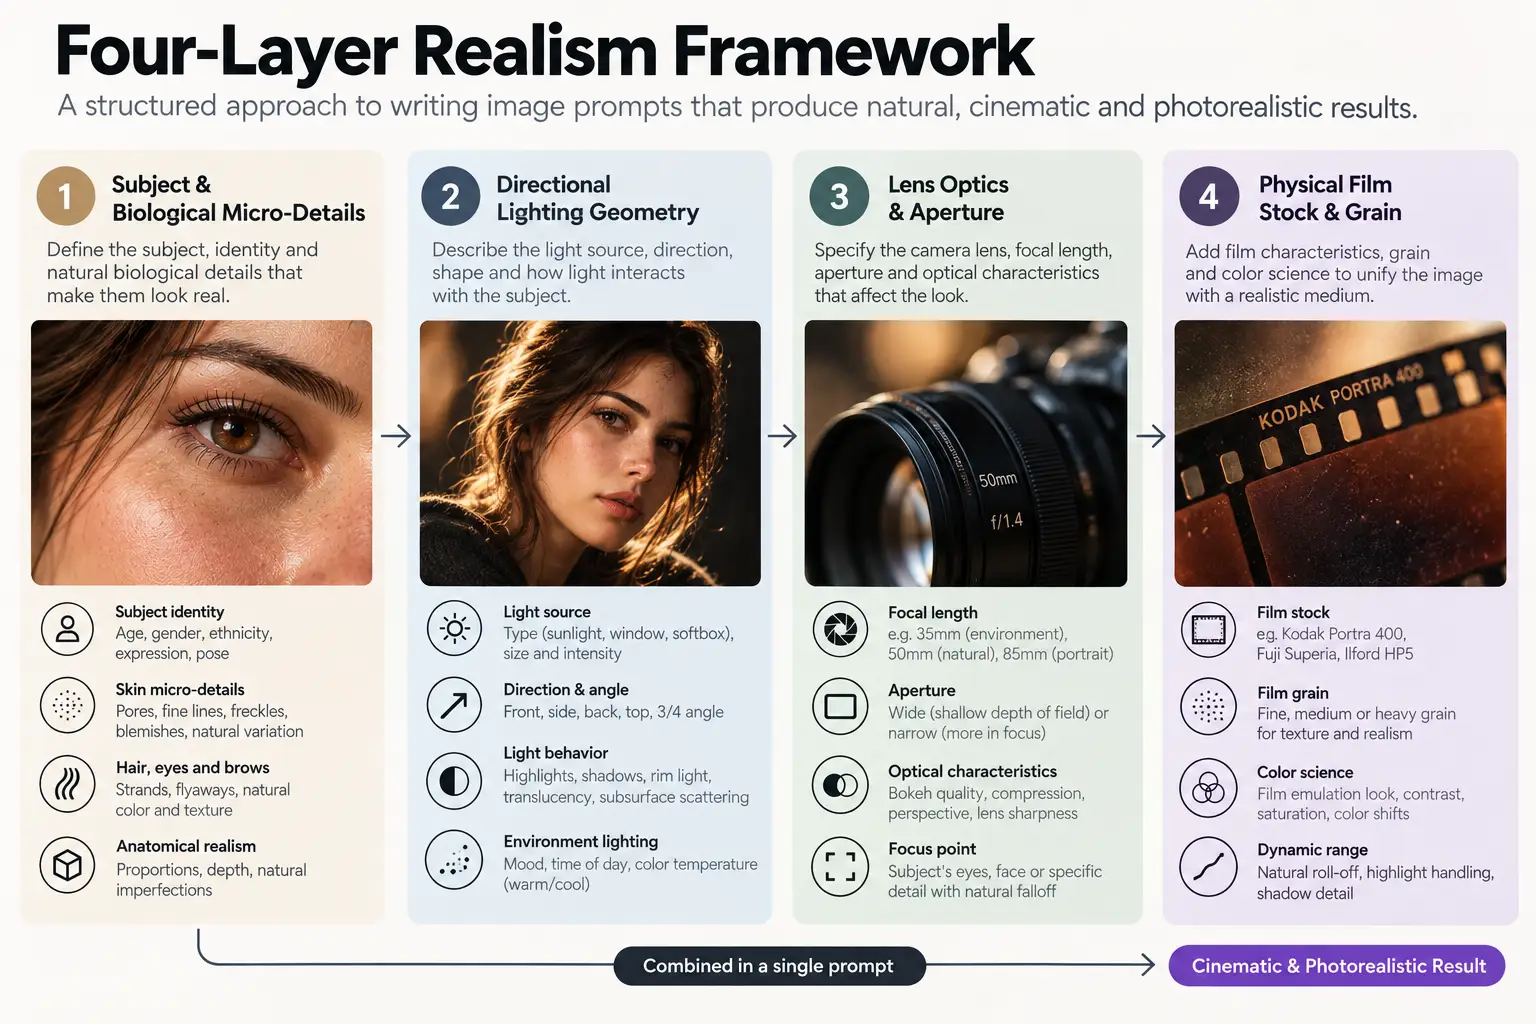 Why AI Images Look Plastic (And How to Fix It)
Managing Prompt Drift Across Iterations
Once you clean up your prompt syntax, you will notice another hurdle: maintaining that gritty, real-world texture when you re-roll or modify the scene.
If you make small wording tweaks, diffusion models can suddenly pivot back into smooth digital renders. This happens because certain descriptive nouns carry hidden aesthetic biases that overpower your camera tags.
If you struggle with unpredictable variance between generations, take a look at why the same prompt gives different results every time to understand seed variance and latent space shifts.
When you see plastic skin creeping back into your renders, check your negative prompts. Instead of throwing forty generic negative words into your workflow, target the exact culprits:
--no 3d render, cgi, airbrushed, plastic skin, doll face, smooth skin, octane render, illustration
Be careful not to over-negate. As we explored when discussing why telling AI what not to do fails, stuffing your negative prompt with dozens of conflicting terms can destabilize your image composition. Focus only on the rendering shaders you want removed.
Dial In the Realism
AI tools are inherently eager to please. When you ask them for beauty, they give you the mathematical caricature of beauty: airbrushed, symmetrical, and lifeless.
Real beauty lives in the uneven patches of skin tone, the flyaway hairs caught in the breeze, the slightly harsh shadow under a nose, and the grain of a physical camera sensor catching photons.
The next time you generate an image, delete every single buzzword praising the resolution. Replace them with a real lens, a specific light angle, and an analog film stock.
Pick one prompt you ran this morning that looked waxy, run it through the optical physics framework, and watch the plastic melt away.
Frequently asked questions
Does this optical prompting method work for non-human subjects like cars and architecture?
Why do newer models like Midjourney v6 and Flux still produce plastic skin by default?
Should I use high-resolution upscalers to fix smooth AI skin?
How much does the aspect ratio affect the perceived realism of AI portraits?
We build VirtuaChat and write about getting real work done with AI — prompting, models, images and audio.